barf
Member
BlenderGIS is a blender plugin designed to bridge the gap between Blender and geographic data.
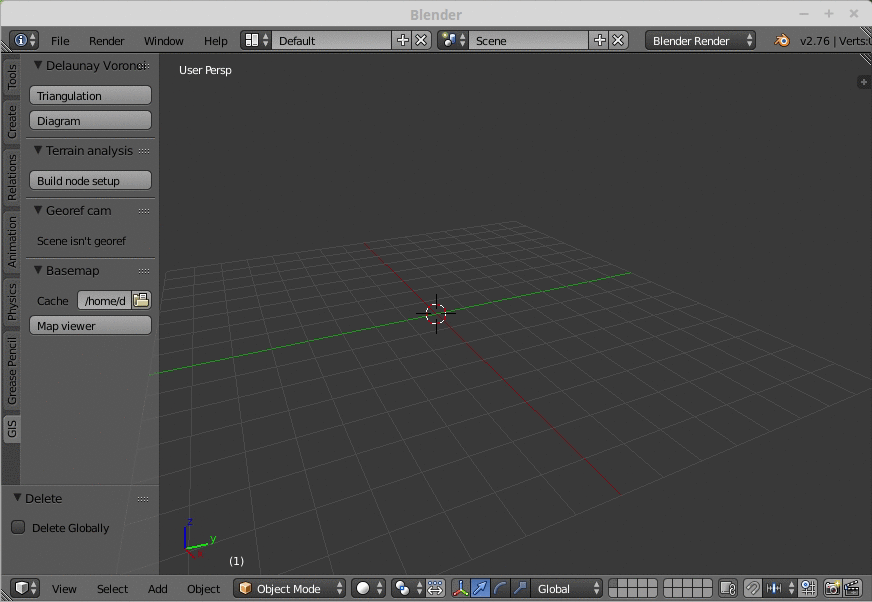
This plugin is useful for track building because it enables scene geo-referencing using WGS84 or other co-ordinate reference systems (CRS), importing OpenStreetMap data, and importing geo-referenced rasters containing ortho-photography, or digital elevation/terrain and surface models.
This tutorial will cover importing (GeoTIFF) LiDAR DEM/DSM products, and satellite terrain and aerial photos directly into blender, while accurately preserving the scale and units. Merging and extracting the geo-rasters used here is a different subject so I might make a short tutorial on QGIS also.
Installation
To install the plugin download the latest release and extract the zip's contents into: %userprofile%\AppData\Roaming\Blender Foundation\Blender\2.79\scripts\addons\
(assuming your blender version is 2.79 on Windows).
Enable the plugin in User Preferences.
Note: installing GDAL into the Python environment packaged with Blender on Windows is beyond the scope of this tutorial, I found using BlenderGIS on Linux to be easier because it uses the system Python environment. Some features may be unavailable on Windows without GDAL. YMMV.
Geo-referencing
Also, by working with a geospatial co-ordinate system in blender instead of a pure Cartesian system, it is possible to preserve the curvature of the surface of the earth in our scene. It's the little things that count")
Raster Import
Elevation/Terrain Model (DEM/DTM/DSM) import
To optimise the mesh, it is a good idea 'dissolve' redundant vertices. Because raster data is a grid array, there will probably be unnecessary vertices, especially in flat and open areas. Use the 'Limited Dissolve' feature in vertex edit mode, after selecting all vertices. Set the threshold for a good trade-off, lower angles will preserve more geometry.
Example Data
The elevation and aerial imagery here is sourced from the LINZ Data Service and licensed by Environment Canterbury Regional Council, for re-use under the Creative Commons Attribution 4.0 International licence.
Download
This plugin is useful for track building because it enables scene geo-referencing using WGS84 or other co-ordinate reference systems (CRS), importing OpenStreetMap data, and importing geo-referenced rasters containing ortho-photography, or digital elevation/terrain and surface models.
This tutorial will cover importing (GeoTIFF) LiDAR DEM/DSM products, and satellite terrain and aerial photos directly into blender, while accurately preserving the scale and units. Merging and extracting the geo-rasters used here is a different subject so I might make a short tutorial on QGIS also.
Installation
To install the plugin download the latest release and extract the zip's contents into: %userprofile%\AppData\Roaming\Blender Foundation\Blender\2.79\scripts\addons\
(assuming your blender version is 2.79 on Windows).
Enable the plugin in User Preferences.
Note: installing GDAL into the Python environment packaged with Blender on Windows is beyond the scope of this tutorial, I found using BlenderGIS on Linux to be easier because it uses the system Python environment. Some features may be unavailable on Windows without GDAL. YMMV.
Geo-referencing
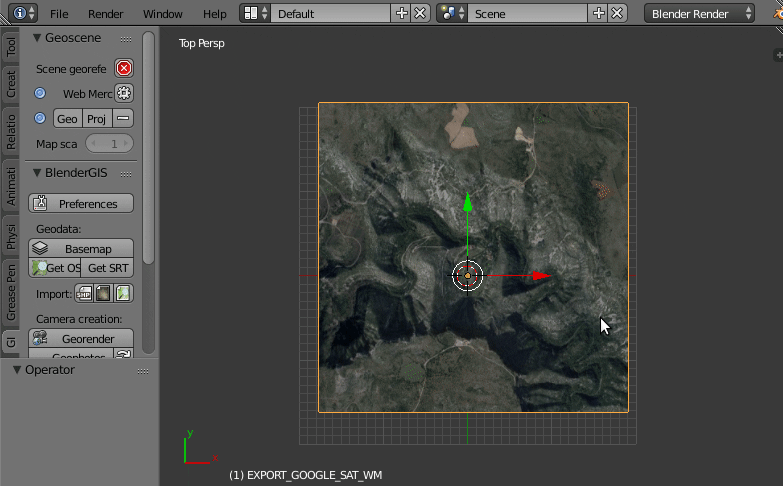
- Click the GIS tab while in object mode
- Click the cog to select a 'CRS'. WGS84 is probably the correct choice for most projects, unless you have access to GIS data from an area with it's own map projection and co-ordinate system, ie; Antarctica uses EPSG:3031.
- Click the plus + to add an Origin
- Click 'Geo' and enter the longitude and latitude you want to be the origin point of your project. Decide on a scene origin that makes sense for your project. Roughly in the center of it, and round the less significant digits off. (If using a localised projection/CRS, click 'proj' and use those units instead)
Also, by working with a geospatial co-ordinate system in blender instead of a pure Cartesian system, it is possible to preserve the curvature of the surface of the earth in our scene. It's the little things that count
Raster Import
Elevation/Terrain Model (DEM/DTM/DSM) import
- Click the Import Georaster button.
- Navigate to the raster file.
- Select the import mode "Raw DEM" (use this mode for DSMs also, it's just where the vertex's Z value will end up)
- Select the "Build faces" checkbox.
- If the file you're importing is a different CRS to the scene CRS, select "Specify raster CRS" and choose the input file's CRS.
- The scene geo-referencing items should automatically be set.
- Click Import georaster.


- Click the Import Georaster button.
- Navigate to the raster file.
- Select the import mode "On mesh" to UV-map the raster onto an existing mesh.
- Select the object to apply the raster to. (Ie; the DEM/DSM you imported previously)
- If the file you're importing is a different CRS to the scene CRS, select "Specify raster CRS" and choose the input file's CRS.
- The scene geo-referencing items should automatically be set.
- Click Import georaster.


To optimise the mesh, it is a good idea 'dissolve' redundant vertices. Because raster data is a grid array, there will probably be unnecessary vertices, especially in flat and open areas. Use the 'Limited Dissolve' feature in vertex edit mode, after selecting all vertices. Set the threshold for a good trade-off, lower angles will preserve more geometry.
Example Data
The elevation and aerial imagery here is sourced from the LINZ Data Service and licensed by Environment Canterbury Regional Council, for re-use under the Creative Commons Attribution 4.0 International licence.
Download
Last edited:
